
Setting up and publishing your mobile app
Enter your iOS and Android signing credentials, set your branding, connect Firebase for push and take the build to the App Store and Google Play.
The Mobil Uygulamalar section turns your store into a native app published on the App Store and Google Play. You enter your developer credentials once; we build the app and deliver it to the stores. It ships under your own Apple and Google accounts — App Store rules require that for store-branded apps. Setup does not end in the panel: account creation, the store listing and review all happen on Apple's and Google's own sites.
Antes de empezar
- The Mobile App plugin enabled — the Mobil Uygulamalar heading appears in the menu
- A paid Apple Developer Program account for iOS (about $99 a year)
- A Google Play Console account for Android (a one-off $25)
- Your own free Firebase project, if you intend to send push notifications
Pasos
Las pantallas son ilustrativas; los datos de tu panel serán distintos.
Paso 1: Read the readiness state on Genel Bakış
Mobil Uygulamalar > Genel Bakış opens with the Yayına hazırlık card, and each of iOS, Android, Marka and Müşteri Bildirimi carries its own status word: iOS and Android read Doğrulandı, Hazır or Eksik; Marka reads Tamam or Eksik; Müşteri Bildirimi reads Etkin or Kapalı. The Kurulum adımları list underneath names the next concrete job — enter and verify the Apple signing details, enter and verify the Google Play service account, set the app name and icon. Work through it in order.
Mobile App
Launch readiness — as you complete the iOS, Android, and branding steps, your app becomes ready to publish.
iOS
IncompleteAndroid
IncompleteBranding
DoneCustomer Push
Disabled- 1iOS
- 2Android
- 3Branding
- 4Customer Push
Mobile App — vista de ejemplo del panel Paso 2: Enter and verify the iOS signing credentials
The iOS İmzalama Bilgileri screen under Mobil Uygulamalar > iOS asks for Apple Team ID, Bundle ID, App Store Connect Key ID and Issuer ID, plus the App Store Connect API Anahtarı (.p8) file. Create the Bundle ID on the Apple Developer side before registering the app in App Store Connect, and never change it after release. Press iOS Bilgilerini Kaydet then Doğrula; a Doğrulandı badge means Apple accepted your key.
Not verifiediOS Signing Credentials
Apple Team IDA1B2C3D4E5Bundle IDcom.atesocakbasi.uygulamaApp Store Connect Key ID9QF4TZ7K2PIssuer ID69a6de70-4f2c-47e3-e053-5b8c7c11a4d1App Store Connect API Key (.p8)AuthKey_9QF4TZ7K2P.p8This file can only be downloaded once.
Save iOS CredentialsVerifyiOS Signing Credentials — vista de ejemplo del panel Paso 3: Upload the Android service account
The Android İmzalama Bilgileri screen under Mobil Uygulamalar > Android takes Paket Adı (Package name) — unique, reverse-DNS, and unchangeable once published. Upload the key you downloaded from Google Cloud into Play Servis Hesabı (JSON) and choose a Yayın Kanalı (Track): Dahili (internal) is for testing, Yayın (production) goes live. Press Android Bilgilerini Kaydet then Doğrula. You do not need to create an upload key yourself — it is generated on the first build.
Not verifiedAndroid Signing Credentials
Package namecom.atesocakbasi.uygulamaUnique reverse-DNS package name. Cannot be changed after release.
Play Service Account (JSON)play-service-account.jsonUpload the service account JSON key downloaded from Google Cloud.
Release trackInternalinternal is for testing; production goes live.
Save Android CredentialsVerifyAndroid Signing Credentials — vista de ejemplo del panel Paso 4: Set the branding
Mobil Uygulamalar > Marka defines Uygulama Adı, Uygulama Simgesi and Açılış Ekranı Arka Plan Rengi. The icon must be a 1024×1024 PNG, fully square and with no transparency — if you have no suitable file, Simge Stüdyosu builds one from a larger image. The Açılış Görseli block prepares the splash artwork: Tam ekran suits photographs and patterns, Sığdır suits logos. Finish with Markayı Kaydet.
Branding
App nameAteş OcakbaşıThe name shown under the icon on the home screen.
App iconapp-icon-1024.pngA 1024×1024 PNG. Fully square, no transparency.
Splash background color#1B1B1FThe background shown while the app launches.
Save BrandingBranding — vista de ejemplo del panel Paso 5: Connect Firebase for customer push
This step is optional but it is the only route for order-status and campaign notifications. On Mobil Uygulamalar > Müşteri Bildirimi turn on Müşteri bildirimini etkinleştir, then upload three files: Firebase servis hesabı (JSON), Android google-services.json and iOS GoogleService-Info.plist. The package name and bundle id inside the Firebase project must match the iOS and Android tabs exactly. For iOS you must also upload an APNs authentication key in the Firebase console — a second, different .p8 from the one on the iOS tab. Finish with Firebase Ayarını Kaydet.
DisabledFirebase (Customer Push)
açıkEnable customer push
Push support is compiled into the app, so rebuild after switching this on.
Firebase service account (JSON)firebase-adminsdk.jsonAndroid google-services.jsongoogle-services.jsoniOS GoogleService-Info.plistGoogleService-Info.plistSave Firebase ConfigFirebase (Customer Push) — vista de ejemplo del panel Paso 6: Follow the build on Derleme Durumu
Once your credentials verify, the platform operator starts the builds — do not look for a start button in the panel. The Derleme Durumu card at the bottom of Genel Bakış lists every build with Platform, Şerit (Lane), Durum, Oluşturulma and Ayrıntı; states run Sırada, Alındı, Çalışıyor, Başarılı, Başarısız and İptal edildi. A successful test build shows as TestFlight'a yüklendi or Play dahili teste yüklendi.
Build Status
Platform Lane Status Created Details iOS TestFlight Success 12.02.2026 10:12 Uploaded to TestFlight Android internal Running 12.02.2026 10:12 — iOS App Store Queued 12.02.2026 10:40 — Builds started after you save your signing credentials will appear here.
Build Status — vista de ejemplo del panel Paso 7: Test it, complete the store listing and publish
When the test build lands, add tester emails in TestFlight and Play Console, install it on a real device and confirm it opens your store correctly. Then complete the store listing in App Store Connect and Play Console: screenshots, description, keywords, category, privacy details and a privacy policy link. After the production build runs, attach it to your release and submit for review — Apple review usually takes 24-48 hours, Google is often faster. These final steps are manual and cannot be automated.
Setup guide
- ✓A test build is created
- ✓Add testers and try it
- 3Complete the store listing
- 4Release to production
- 5Submit for review
On a first submission you must always accept the agreements and fill the store listing by hand.
Setup guide — vista de ejemplo del panel
Consejos
Push support is compiled into the build
A build taken BEFORE you switched customer push on has no push support at all. Turning the switch on later changes nothing until a new build is produced and reinstalled — the Uygulama Müşterileri list stays empty and every notification you send reaches nobody. Always request a fresh build after setting Firebase up.
Identifiers are one-way and must match in three places
Bundle ID and Paket Adı (Package name) cannot be changed once published. The same values must appear identically on the Apple/Google side, on the iOS and Android tabs, and inside the Firebase project; get them wrong in Firebase and notifications are accepted but never reach the device.
Preguntas frecuentes
- Do I start the builds myself?
- No. Once your credentials verify, the platform operator starts them; your job is to finish the Kurulum adımları list on Genel Bakış and follow progress on the Derleme Durumu card. The production build is run the same way, after a successful test build.
- Whose account is the app published under?
- Yours. iOS uses your own Apple Developer account and Android your own Google Play Console account — App Store Review Guideline 4.2.6 requires that for store-branded apps. Apple charges about $99 a year and Google a one-off $25, and you pay those directly.
- I sent a notification, it reported sent, and nobody got it.
- A sent status is not proof of delivery. Check in order: whether any device is listed under Uygulama Müşterileri, whether the phone declined the notification permission, and — for iPhones — whether an APNs authentication key is uploaded in your Firebase project. Without it Apple rejects every message. The Bildirimler ulaşmıyor — kontrol listesi section on the Kılavuz page walks through this in order.
Complementos relacionados
La tarea de esta guía viene con estos complementos.
Pruébalo en una demo en vivo
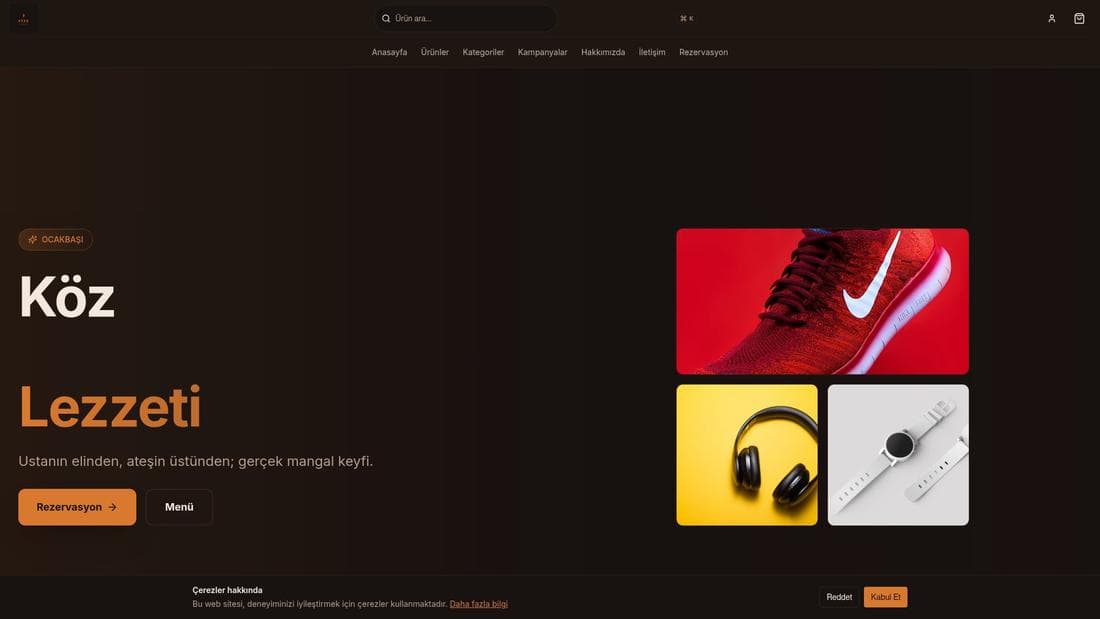
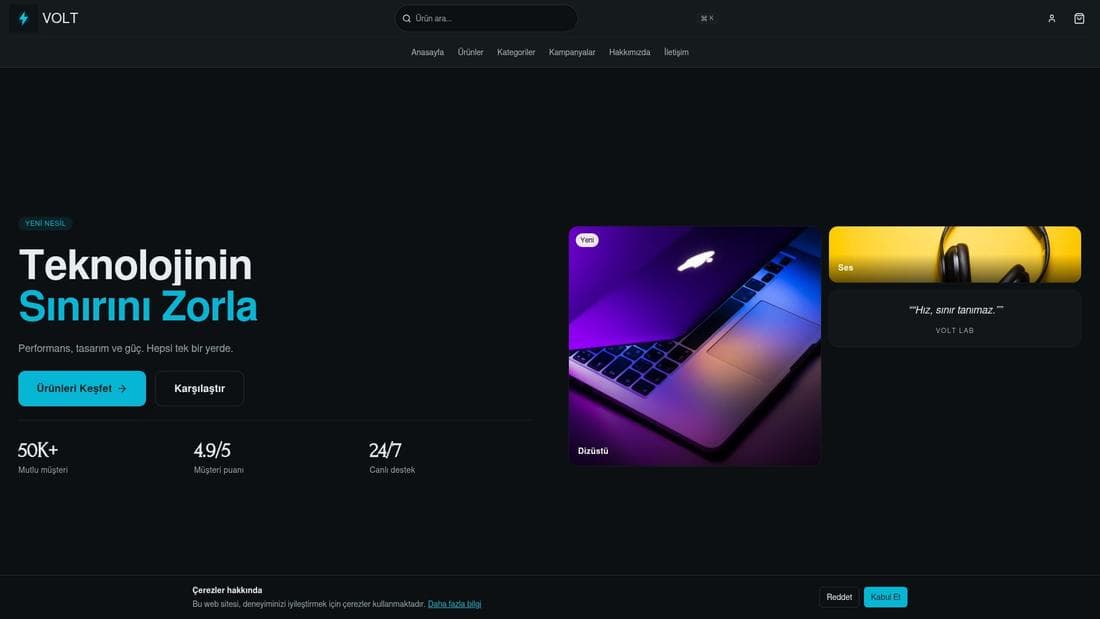
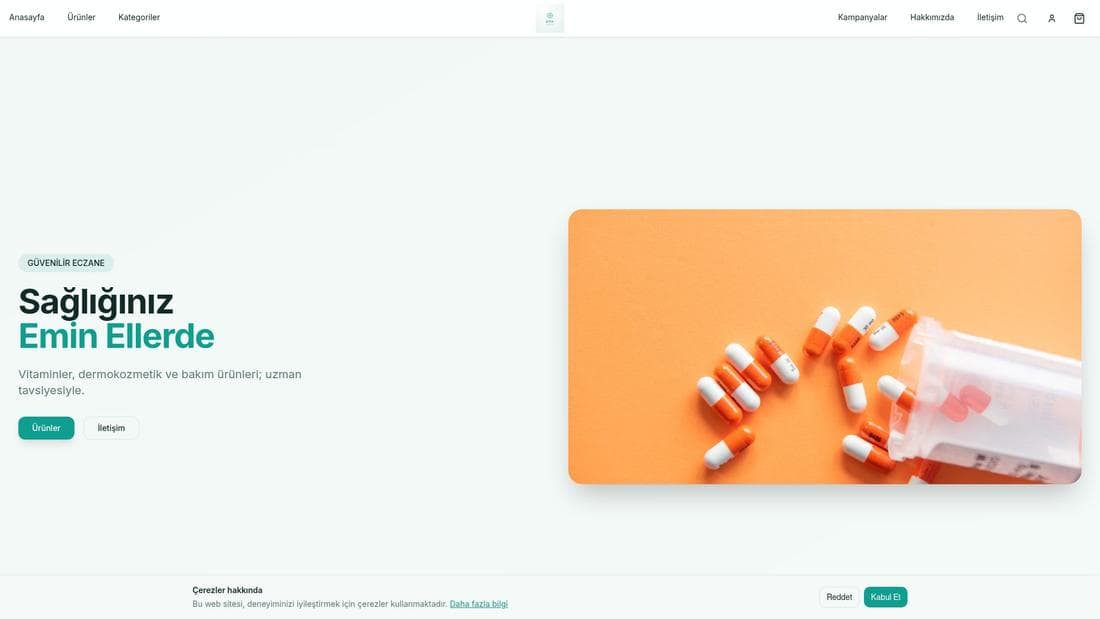
Tiendas reales con esta función activa. Ábrelas y navega.
Guías relacionadas
How to open a store: 6 steps to going live
Every step from signup to launch: sector, AI-generated design, your first product, payment and delivery setup, and connecting your domain.
How to connect and verify a custom domain
Connect your own domain to your store: add it in the panel, enter the DNS record at your registrar, verify, and wait for the SSL certificate.