
Creating 3D models with AR Studio
Turn variant photos into 3D models with AI in AR Stüdyo, follow the job, attach the model to a variant and show it to customers in AR.
AR Stüdyo turns your product variants into 3D and augmented-reality models. A customer can rotate the model on the product page, inspect it in a showroom scene on desktop, and place it in their own room on a phone. It pays off for products where volume decides the purchase — furniture, footwear, eyewear, ceramics. Generating a model is not enough: it must be attached to a variant, because an unattached model appears nowhere.
Avant de commencer
- The AR Studio plugin enabled — the AR Stüdyo heading appears in the menu
- A product with at least one variant and clear photos of that variant
- Enough AI credit, or your own Meshy API key saved under AR Stüdyo Ayarları
Étapes
Les écrans sont illustratifs ; les données de votre panneau différeront.
Étape 1: Open the AR Studio dashboard
AR Stüdyo > Genel Bakış shows the Aktif model, Toplam model, Devam eden iş, Bağlı model and Toplam AI harcaması counters, with AR Modelleri, Devam Eden İşler and Son İşler cards below. Before your first generation it reads Henüz AR modeli yok and the only move is Yeni Model.
AR Studio
Active models
0
Total models
0
Running jobs
0
Attached
0
No AR models yet
New ModelAR Studio — exemple de vue du panneau Étape 2: Choose a generation method
The AR Modeli Oluştur wizard under AR Stüdyo > Yeni Model offers four routes. Varyant Görselleri generates 3D with AI from photos the variant already has — the usual choice. Fotoğraf Yükle uses new shots. 3D Dosya Yükle converts an OBJ, STL, FBX, PLY, GLTF or GLB file for AR. AR Dosyası Yükle takes a finished GLB/USDZ file with no processing at all.
Create AR Model
Variant ImagesUpload PhotosUpload 3D FileUpload AR FileGenerate a 3D model with AI from the variant's existing images.
Select variantCreate AR Model — exemple de vue du panneau Étape 3: Pick the variant and its source images
Varyant seç decides which variant the model is built from — a separate model per colour means a separate job per variant. Then select between one and four images. Clean them first if needed: YZ · arka planı kaldır strips a busy background and Kırp & oran fixes the framing. The cleaner the source, the more accurate the mesh.
Create AR Model
Selected variantOak Dining Table — 180 cm / NaturalSelect between 1 and 4 images.
Front view
2 / 4 selectedAngled view
editedDetail — leg
AI · remove backgroundCrop & ratioCreate AR Model — exemple de vue du panneau Étape 4: Set the generation options and start
Oluşturma Seçenekleri carries Kalite, Topoloji (Dörtgen (quad) or Üçgen (triangle)), Doku (texture), Simetri (Kapalı, Otomatik, Açık) and Poligon sayısı. Otomatik symmetry gives cleaner results on symmetric products, and an unnecessarily high polygon count only bloats the file and slows phones down. The panel shows your AI kredi bakiyesi — generation is billed to it. Press Oluştur to start.
Generation Options
TopologyQuadaçıkTexture
Generate the model with a colored texture.
SymmetryAutoPolygon count30,000Target polygon count (level of detail).
Model generation is charged from your store's AI credit balance.
GenerateGeneration Options — exemple de vue du panneau Étape 5: Follow the job
A job moves through Bekliyor, Ücretlendiriliyor, İşleniyor, Dönüştürülüyor, İndiriliyor and Tamamlandı. AI generation usually takes one to three minutes and closing the window does not stop it — it keeps running in the background. The full history lives under AR Stüdyo > İşlemler with Devam eden, Tamamlanan and Başarısız filters. A failed job refunds the AI credit and shows an İade edildi badge.
AR Jobs
AllRunningCompletedFailedVariant Status Started Finished Oak Dining Table — 180 cm Processing 12.02.2026 14:05 — Bergama Kilim — 120x180 Completed 11.02.2026 09:41 11.02.2026 09:44 Glass Coffee Table — Clear Failed 10.02.2026 17:22 10.02.2026 17:23 AI generation usually takes 1–3 minutes.
AR Jobs — exemple de vue du panneau Étape 6: Attach the model to a variant
Skip this and nothing changes for customers: the model exists but is invisible in the store. Find it under AR Stüdyo > AR Modelleri and press Varyanta ata. The list filters by Bağlı, Bağlanmamış, Aktif and Pasif — the Bağlanmamış filter catches exactly this mistake. An attached model fills its Formatlar row with GLB (Android) and USDZ (iOS), and the AR Modeli control on the product form's variant row reads AR Hazır with a 3B Görüntüle preview.
UnattachedAR Models
AllAttachedUnattachedActiveInactiveOak Dining Table — 180 cm
Not attached to a variantGLB (Android) · USDZ (iOS)
Attach to variantPreviewDetachAR Models — exemple de vue du panneau Étape 7: Set your key and showroom scene in settings
AR Stüdyo > Ayarlar manages two things. Put your own key in Meshy API Anahtarı and generation is billed by Meshy directly rather than to your AI credit — the card then reads Özel anahtar etkin instead of Platform anahtarı kullanılıyor. 3B Showroom Sahnesi is the room shown behind the product when a desktop visitor opens 3B Görüntüle; Oda sahnesi yükle replaces it with your own space — GLB only, up to 50 MB.
Using platform keyAR Studio Settings
API KeyPaste your Meshy API keyWhen a custom key is set, AR generation is not charged from your AI credit balance.
Default cozy room
Upload a room sceneReset to defaultSaveAR Studio Settings — exemple de vue du panneau
Conseils
Do not pay twice for the same model
The AR Modeli control on the product form has a Geçmişten seç option that attaches a previously generated model to this variant with no new charge. Where geometry does not change — different size labels of the same item, say — starting a fresh generation just burns credit.
Glass, chrome and transparent surfaces struggle
The AI infers geometry from shading and reflections, so transparent or highly reflective products often come out distorted. For those, shoot on a matte angle, or supply your own file through the 3D Dosya Yükle (Upload 3D File) tab instead.
Questions fréquentes
- Do I lose the credit if generation fails?
- No. A failed job refunds the AI credit; the row appears under AR Stüdyo > İşlemler with the Başarısız status and an İade edildi badge, and the refund also shows in İşlem Geçmişi as an İade row.
- I already have a 3D file — do I have to use AI?
- No. In the AR Modeli Oluştur wizard, the 3D Dosya Yükle tab converts OBJ, STL, FBX, PLY, GLTF and GLB files for AR, and if you already have GLB or USDZ the AR Dosyası Yükle tab takes them as they are.
- I generated a model but customers do not see it on the product page.
- Almost always the model is not attached to a variant. Open the Bağlanmamış filter on the AR Modelleri page and press Varyanta ata. If it is attached, check that its state is Aktif rather than Pasif.
Extensions associées
La tâche décrite ici est fournie avec ces extensions.
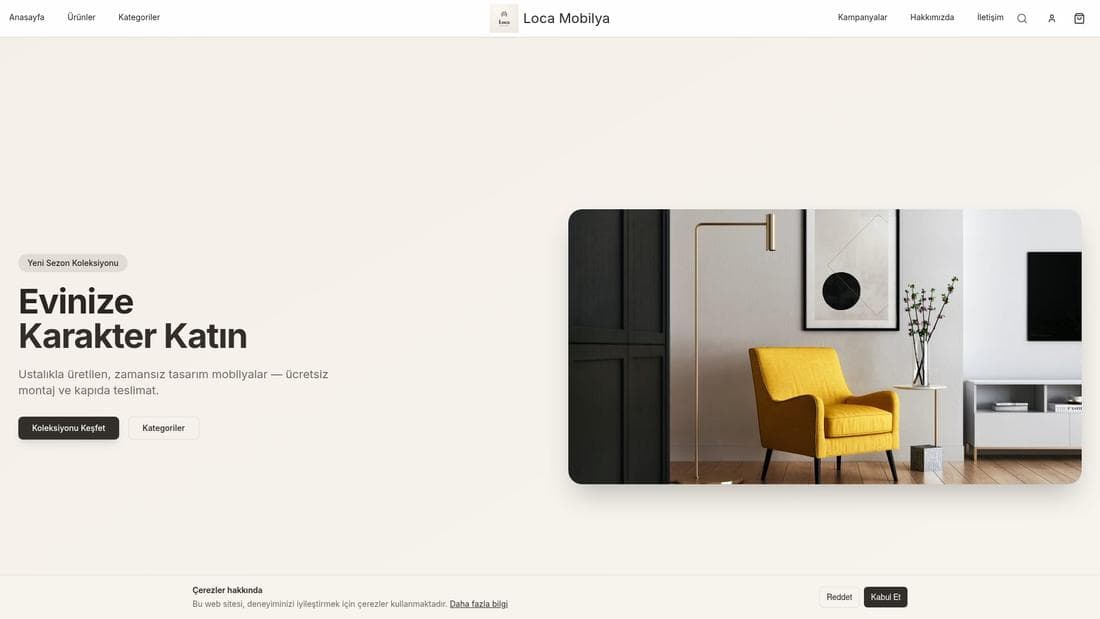
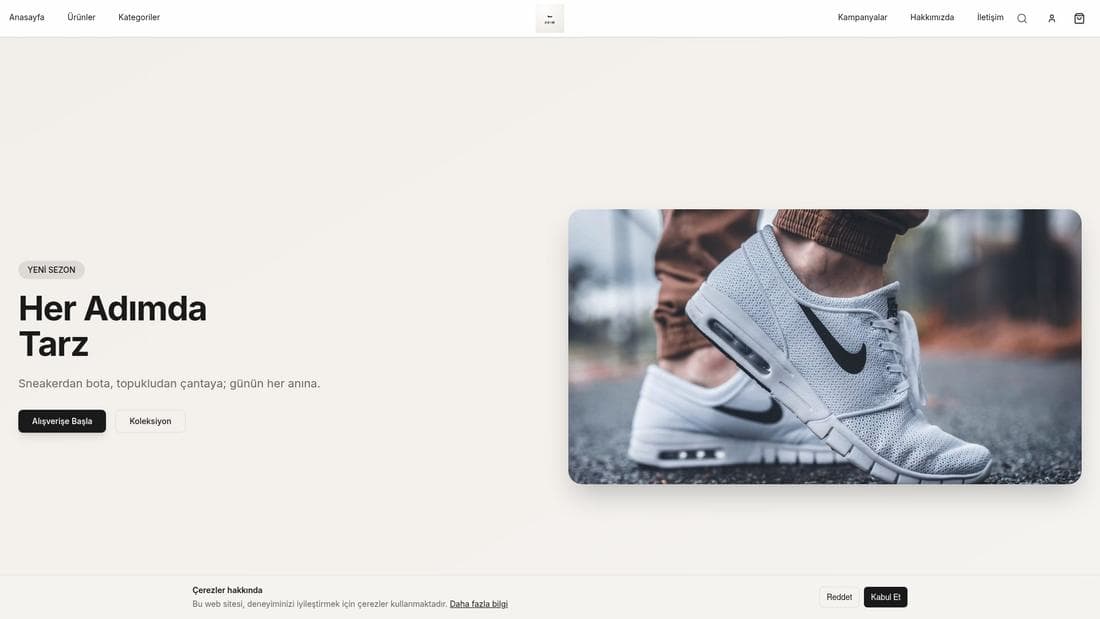
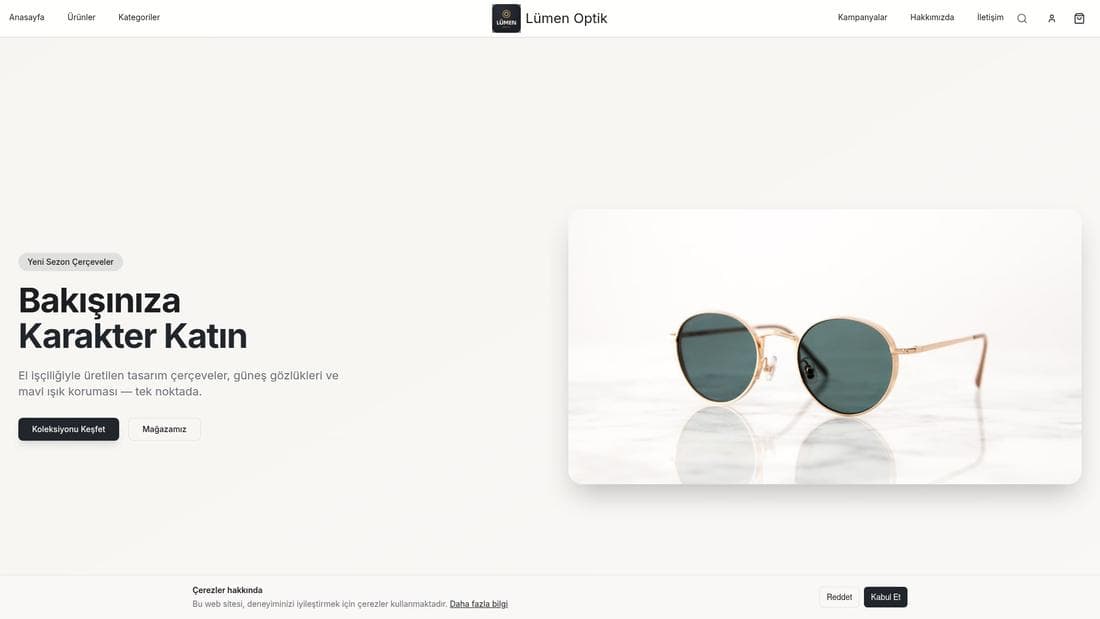
Essayez dans une démo en ligne
De vraies boutiques utilisant cette fonctionnalité. Ouvrez-les et explorez.
Guides associés
Generating AI content and using credits
Connect your AI provider, generate text and images inside the panel, find every generation on the AI İçerik page and manage your AI credit balance.
Setting up Virtual Try-On for products
Turn Virtual Try-On on per product, add reference images to variants, test it in Önizleme Stüdyosu and set the per-customer daily limit.