
Writing and publishing a blog post
Create a post, build the body from sections, set the featured image and tags, fill in the meta fields, publish it and moderate the comments.
The blog is where your store earns search traffic: product pages capture people ready to buy, blog posts bring in the ones still researching. Posts are built the same way pages are — from sections — and each post has its own title, excerpt, featured image, tags and SEO fields. Nothing appears on the storefront until you press Yayınla (Publish).
Before you start
- The Blog plugin enabled
- An admin account with the blog:read permission
- An AI credit balance, if you want AI to draft posts for you
Steps
Screens are illustrative; the data in your own panel will differ.
Step 1: Open the blog list and create a post
İçerik → Blog lists every post with Başlık, Durum, İstatistikler and Tarih columns; the status is Taslak (draft), Yayında (published) or Arşiv (archived). Press Yeni Yazı — the post opens as 'Yeni Blog Yazısı' and drops you straight into the editor. Use the search box to find an existing post.
18 postsBlog
Search posts...Title Status Stats Date Winter skincare Published 1,240 views 12.02.2026 New season collection Draft — 08.02.2026 Gift guide 2025 Archived 3,870 views 19.12.2025 New PostAuto BlogCommentsBlog — example view from the panel Step 2: Enter the title, excerpt and image
Yazı ayarları ve SEO in the top bar opens the post settings panel. Title and excerpt are per-language — watch the language badge at the top of the panel. The featured image, tags, category and reading time are shared across every language. There is no address field: the post's link is derived from the Turkish title and shown read-only.
TRPost settings
TitleKış aylarında cilt bakımıExcerptFive practical ways to slow winter moisture loss./kis-aylarinda-cilt-bakimiTagsskincare, winter, moisturiserCategorycareReading Time (minutes)6Post settings — example view from the panel Step 3: Build the body from sections
The body is not one text box: you add blocks — text, image, quote — from the Bölümler list on the left. In the add-section dialog you search, pick a variant on the right and press Ekle. With no sections yet the list says 'Henüz bölüm eklenmedi' and offers to add the first one.
Add blog section
Search sections...galleryGallery
GridImage and video gallery
FAQ
AccordionFrequently asked questions
Testimonials
CardsCustomer reviews and comments
CancelAddAdd blog section — example view from the panel Step 4: Let AI draft the post, if you want
The AI post button asks for a topic and produces the title, excerpt, tags and every section for you. The more concrete the brief, the better the result. Nothing is published straight away: what comes back is a draft, and editing and publishing stay with you.
Generate a blog post with AI
Enter a topic or title and AI will write a complete post for you.
Topic / RequestA winter routine for dry skin and the products we recommendAI writes the title, excerpt, tags and all sections.
Generate a blog post with AI — example view from the panel Step 5: Fill in the SEO fields
The SEO block at the bottom of the post settings panel holds Meta Başlık and Meta Açıklama, both per-language. The counter under the description shows a 160-character budget; anything past that is cut in the search result. The OG image is the preview shown when the post is shared on social media — leave it empty and shares appear without a picture.
SEOPost settings
Meta titleWinter skincare: 5 practical stepsMeta descriptionFive ways to slow winter moisture loss, and what each product actually does.138/160 characters
OG Imagekis-bakim-og.jpgPost settings — example view from the panel Step 6: Save and publish
Save and Publish sit side by side in the top bar; with unsaved work the save button shows an asterisk. With autosave on, your work is kept in the background — close the browser and the editor offers to restore the unsaved draft next time. Publishing confirms with 'Yazı yayınlandı'. To reverse it, Yayından Kaldır returns the post to draft; the post, its link and its comments are not deleted.
DraftWinter skincare
açıkAutosave
Autosave is on
Save*PublishPost published
Winter skincare — example view from the panel Step 7: Moderate the comments
The comments screen, reached from the blog list, filters everything into Tümü, Bekleyen, Onaylandı and Reddedildi. Each row shows the user, the comment, the post and the date, and you approve, reject or delete it. Only approved comments appear on the storefront, so a blog nobody moderates leaves real reader comments waiting unpublished.
4 pendingComments
AllPendingApprovedRejectedUser Comment Post Date Status Elif Kaya Tried the moisturiser, it really helped. Winter skincare 14.02.2026 Pending Murat A. Which one suits sensitive skin? Winter skincare 13.02.2026 Pending ApproveRejectDeleteComments — example view from the panel
Tips
The link freezes on the first title
There is no slug field: the address is derived from the Turkish title and never moves once the post owns a real one. So get the Turkish title right before the first save — renaming the post later does not rename its URL, and you are left with an address describing the old topic.
Run Auto Blog in draft mode first
Auto Blog writes posts about your products, categories and services on a daily, weekly or monthly schedule. With auto-publish off, each generated post is saved as a draft for you to review instead of going live — run it that way for a cycle or two and only switch it on once you like the voice. Every post spends AI credit, and notifying subscribers additionally needs the Newsletter plugin.
Frequently asked questions
- Does unpublishing a post delete its comments and link?
- No. Unpublishing returns the post to draft and hides it from the storefront; the post, its link and its comments all stay. You can publish it again whenever you want.
- Does an AI-written post go live by itself?
- No. The AI button hands you a draft and the decision to publish stays with you. On the scheduled Auto Blog side the auto-publish switch decides: with it off, every generated post waits as a draft.
- Can I publish a post in more than one language?
- Yes. Title, excerpt, meta title and meta description are per-language and you switch between languages with the badge at the top of the panel. The featured image, tags, category and reading time are shared across all of them.
Related plugins
The task in this guide ships with these plugins.
Try it in a live demo
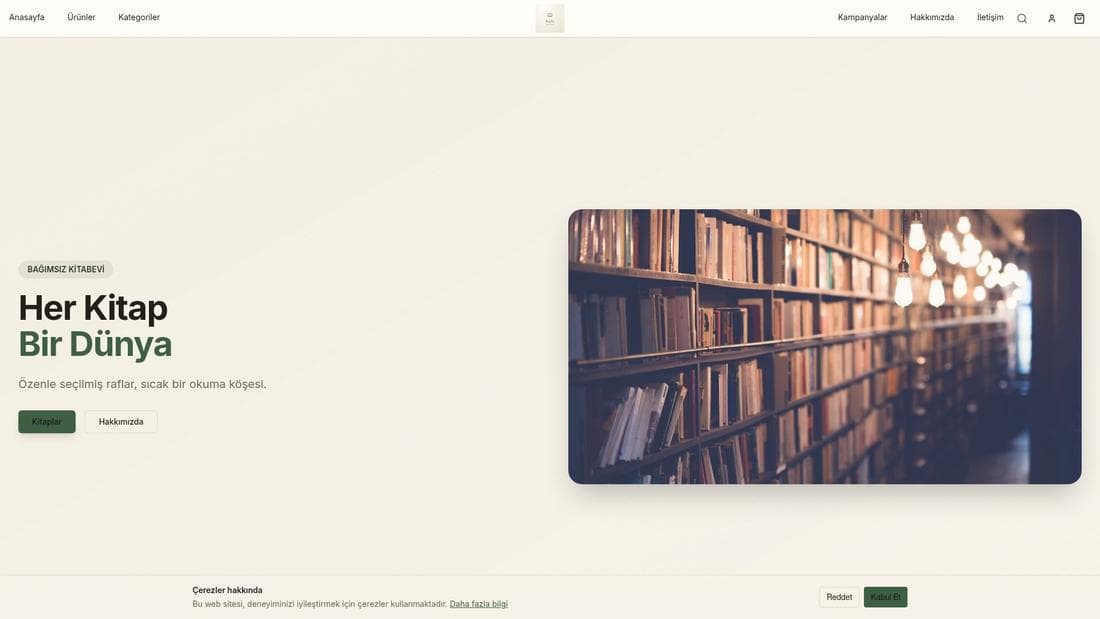
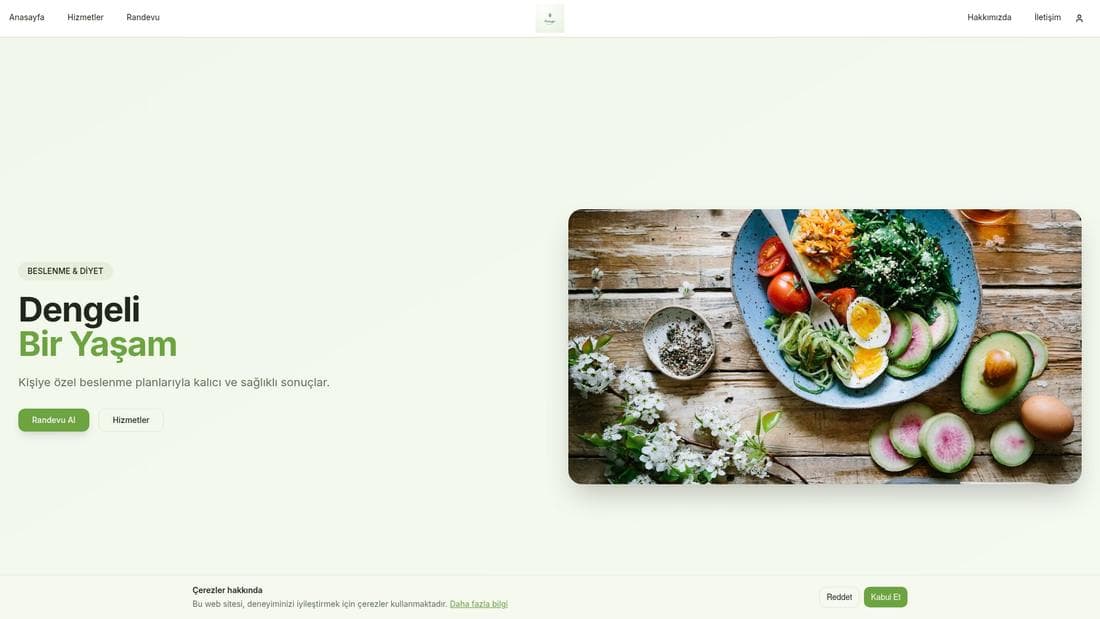
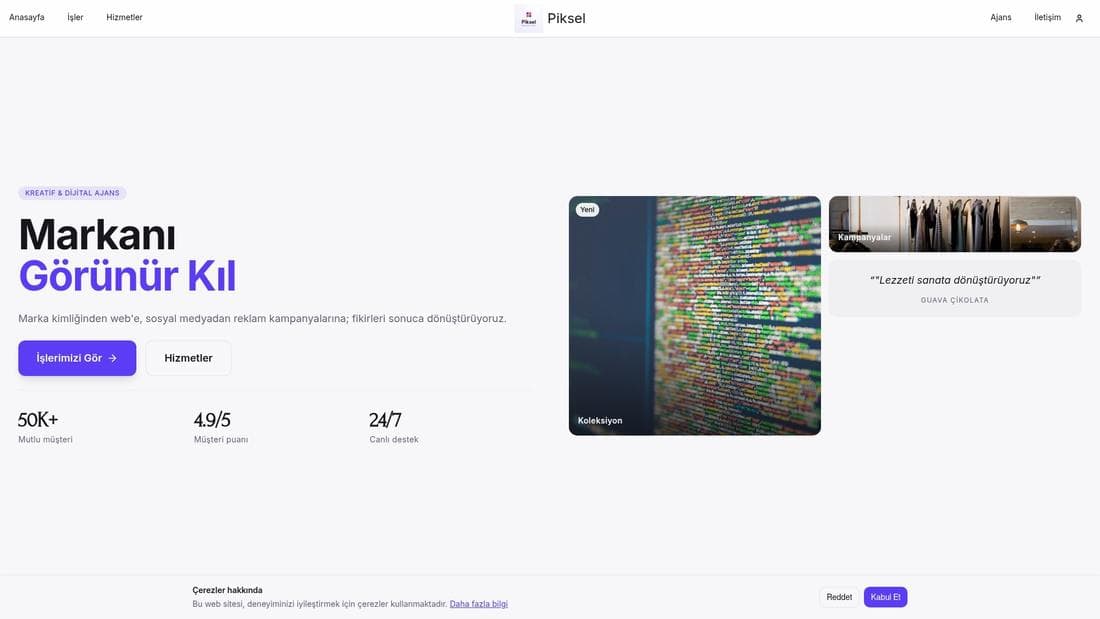
Real stores running this feature. Open one and click around.
Related guides
Using the visual page editor
Edit your store pages in the visual editor: add sections, pick a variant and style, tune the mobile layer, then save the draft and publish it.
Setting up store SEO
Scan the store and read its SEO score, fill in missing titles and descriptions, run the page scan, and redirect old addresses permanently.