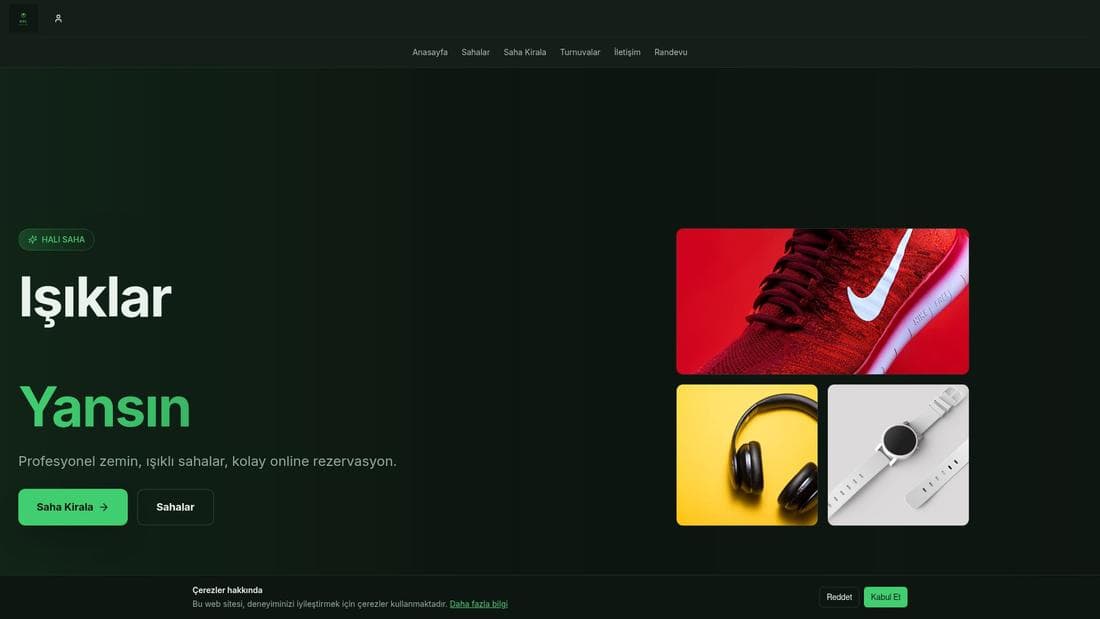
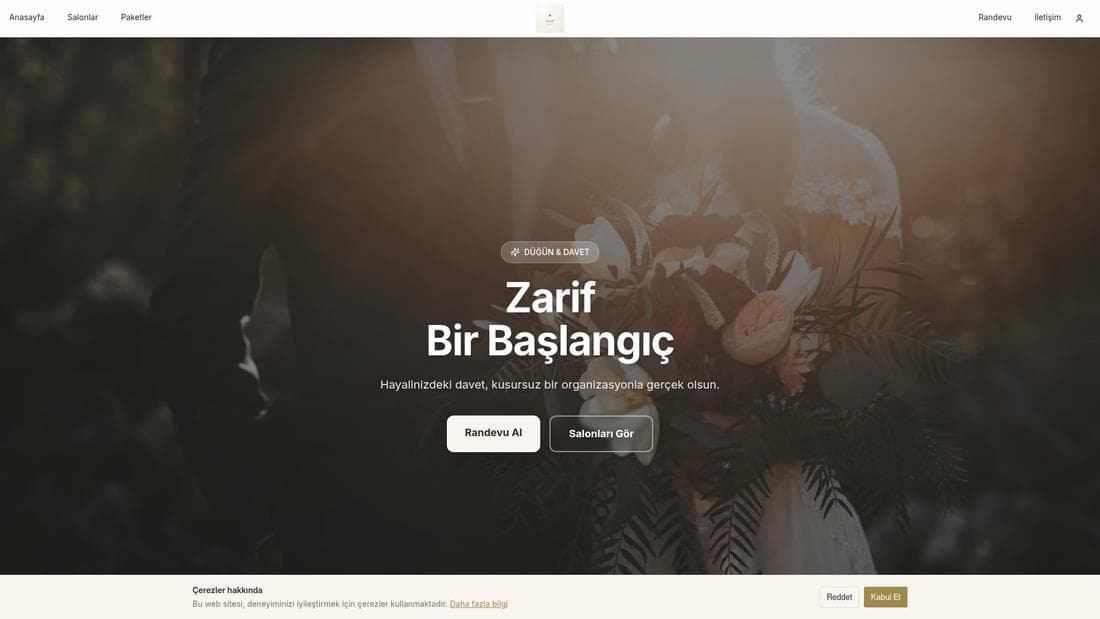
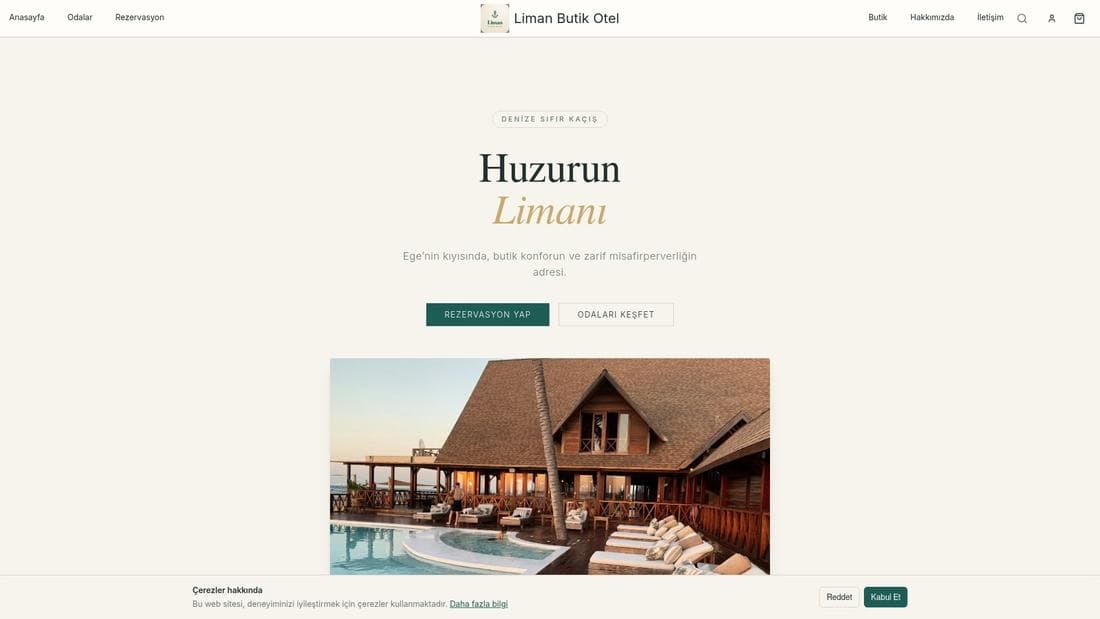
Online reservation system setup
Define your zones and tables, draw the floor plan, enter opening hours and closures, and let customers reserve from your site.
The reservation system allocates a resource: a restaurant table, a five-a-side pitch, a hotel room, an event hall. That is what separates it from appointments — an appointment sells a person's time, a reservation sells a place. Setup starts with defining the resource.
Before you start
- The Reservations plugin enabled
- A list of the resources you allocate (number of tables, pitches, room types)
Steps
Screens are illustrative; the data in your own panel will differ.
Step 1: Define zones and tables
On Rezervasyonlar → Bölgeler & Masalar, define zones first (Garden, Inside, Terrace), then the tables in each with their capacity. Get capacity right: it is the only thing stopping a party of six being seated at a four-top.
Zones & tables
Zone Table Capacity Status Garden B1 4 people Active Garden B2 6 people Active Inside S1 2 people Active Terrace T1 8 people Inactive New zoneAdd TableZones & tables — example view from the panel Step 2: Draw the floor plan
On Kat Planı you place tables in their real layout. This is not only cosmetic: on a busy evening, seeing which table frees up when is far faster from a plan than from a list.
Step 3: Enter hours and closures
On Saatler & Kapanışlar, define your weekly service hours and add closures for holidays, private events or maintenance. On a closure day the system accepts no reservations at all.
Hours & closures
Day Service Hours Tue–Thu Dinner 18:00 – 23:00 Fri–Sat Dinner 18:00 – 00:30 Sunday Lunch + dinner 12:00 – 23:00 Monday Closed — 29 October — closure defined, no reservations that day.
Hours & closures — example view from the panel Step 4: Configure reservation settings
On Ayarlar you set the reservation duration (how long a table is held), the earliest and latest booking window, whether approval is required, and whether a deposit is taken.
Step 5: Add the reservation section to your site
Add the reservation section from the page editor. When a customer picks a date, time and party size, the system finds a suitable table; if none is free, that time is not shown.
Step 6: Run the dashboard and reviews
Rezervasyonlar → Panel shows the day's occupancy. The Değerlendirmeler page collects the ratings and comments customers leave after their visit.
Reservations
Today
18 reservations / 62 covers
Occupancy
78%
Awaiting approval
Pending3
No-shows
1 (yesterday)
ReservationsFloor PlanReviewsReservations — example view from the panel
Tips
Do not inflate capacity
Overstating table capacity to raise occupancy ends with a party you cannot seat. The system matches strictly on the capacity you enter.
Inactive is not deleted
Set tables under renovation or seasonally closed to inactive rather than deleting them; past reservation records stay intact.
Frequently asked questions
- Can I take a deposit?
- Yes. With a payment provider connected, a deposit can be charged at reservation time.
- Can the customer choose their table?
- It depends on your settings. The system can pick automatically, or let the customer choose a zone.
- Can I use this for pitches or rooms?
- Yes. Define pitches or rooms instead of tables; the logic is identical — resource, capacity and time window.
Related plugins
The task in this guide ships with these plugins.
Try it in a live demo
Real stores running this feature. Open one and click around.