
How to open a store: 6 steps to going live
Every step from signup to launch: sector, AI-generated design, your first product, payment and delivery setup, and connecting your domain.
A new MağazamHazır account is not an empty page. You describe your business, and AI generates the theme, the pages and sample content; you put your own products and settings on top. This guide walks the whole path — from the signup screen to a store that can genuinely take an order.
Before you start
- An email address or a Google account
- A mobile number you can verify (required for order notifications and some operations)
- Your business name and a short description — the AI design is generated from this
Steps
Screens are illustrative; the data in your own panel will differ.
Step 1: Create your account
Sign up at magazamhazir.com with email or Google. No credit card is requested. You are taken straight into the setup wizard.
Step 2: Describe your business and let AI build the design
The wizard asks for your sector and a few sentences about the business. AI generates a theme, colour palette, home-page sections and sample copy. If you do not like it, regenerate or pick a ready-made theme — the design can be changed later from the page editor either way.
Step 2/4Setup wizard
- ✓Industry
- 2Design
- 3Content
- 4Launch
Describe your business in one sentenceA small workshop in Kadıköy making handmade leather shoesIndustryFashion & AccessoriesGenerate designChoose a ready themeSetup wizard — example view from the panel Step 3: Finish the System Setup checklist
Settings → Sistem Kurulumu keeps a running list of everything still missing before your store can take money: company details, a payment method, a delivery method, legal agreements. Until that list is done your store is technically online but cannot accept an order.
System Setup
Company details
DoneLegal name, tax office, address
Payment method
Missingiyzico connection
Shipping
MissingAt least one delivery method
Legal agreements
DoneDistance sales, returns, KVKK
Unfinished items keep checkout closed — a customer can add to cart but cannot pay.
System Setup — example view from the panel Step 4: Add your first product
Add it from Ürünler → Tüm Ürünler. A product is only visible in the storefront if it has a LIVE main variant — this is by far the most common cause of 'I added the product but it is not on the site'. See the product guide for how variants work.
Step 5: Connect payment and delivery
Under Ayarlar → Entegrasyonlar, connecting iyzico turns on card payments and connecting Geliver turns on shipping labels. If you are a restaurant or deliver same-day, you use Kurye Entegrasyonu and delivery zones instead of a shipping carrier.
Step 6: Connect your domain and go live
Your store is live on a MağazamHazır subdomain from the moment it is created. Connect your own domain from Ayarlar → Özel Alan Adı and the SSL certificate is issued automatically.
Tips
Changing the design later does not touch your data
Theme and layout are independent of product, order and customer data. Do not wait for the perfect first theme — you can switch after the catalogue is full.
The demos are live and browsable
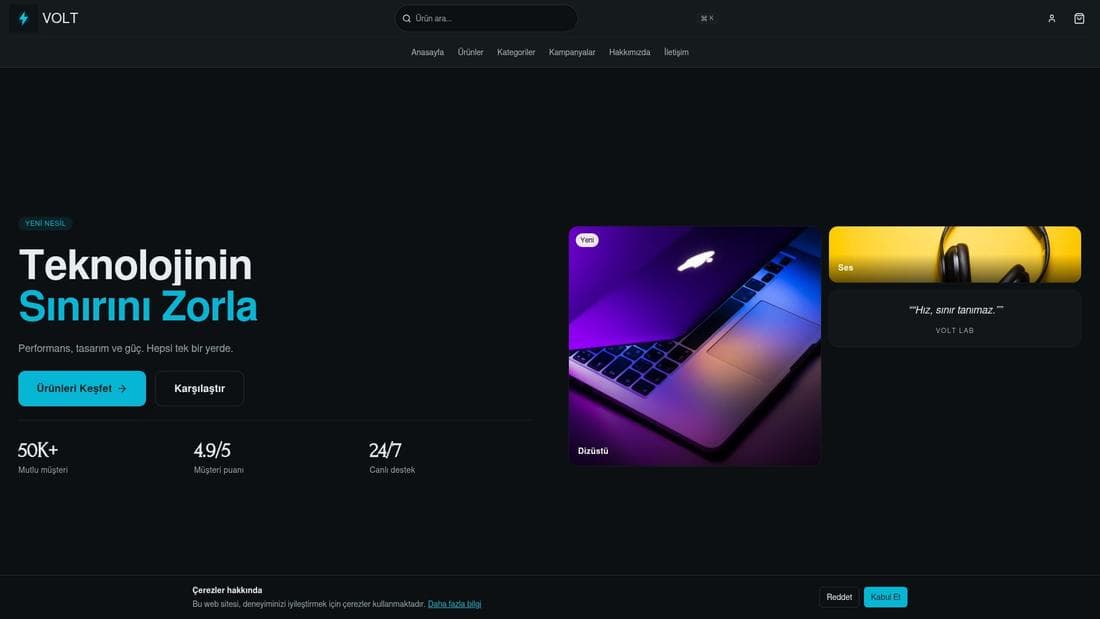
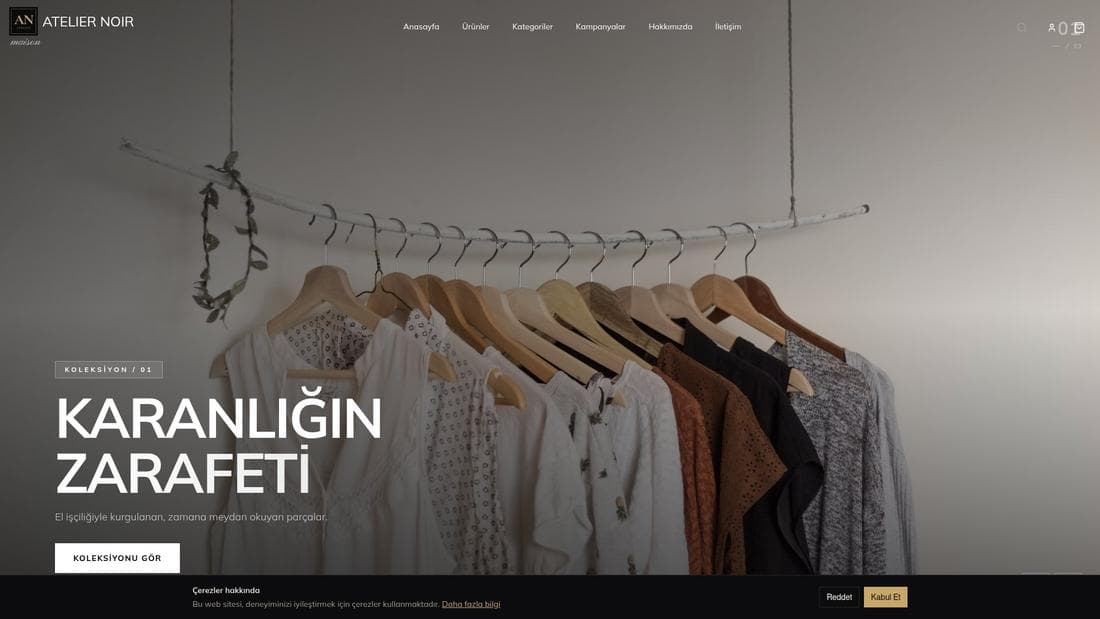
The demos below are real, running stores. Open the one closest to your sector and add something to the cart to see exactly what your customer would see.
Frequently asked questions
- Can I start without giving card details?
- Yes. No card is requested for signup or setup; payment details are only needed when you buy a plan.
- What if I do not like the AI-generated design?
- Run the wizard again, switch to a ready-made theme, or edit any section in the page editor. The generated design is a starting point, not a permanent choice.
- Can my store sell immediately after setup?
- Not until a payment method and at least one delivery method are connected. Ayarlar → Sistem Kurulumu shows what is still missing.
Related plugins
This feature is included in every plan — no separate plugin needed.
Try it in a live demo
Real stores running this feature. Open one and click around.

Related guides
How to connect and verify a custom domain
Connect your own domain to your store: add it in the panel, enter the DNS record at your registrar, verify, and wait for the SSL certificate.
Adding products and managing variants
Create products, build colour and size variants, pick the main variant, manage stock and price — and why a product you added is not showing on the site.